Which websites are ranked?
Every website’s ranked by Alexa.com regardless of whether the website owner has registered or paid a subscription fee.
The Alexa Ranking’s used as a standard by individuals and companies to decide each website’s popularity [read: authority] on the internet.
But…
Without direct data, Alexa’s diverse measurement panels and calculations can only estimate the ranking.
You’ll need a paid subscription with Alexa.com to get an accurate website ranking.
In this tutorial, you’ll learn how to accurately certify and rank your website with Alexa paid subscription, as well as claiming your website with a free Alexa subscription, and installing the Alexa Toolbar
Helping to accurately rank your website with Alexa
For a higher ranking, Alexa recommends your website includes:
- interesting, original content
- inbound links from other websites
- internal links within your website
- optimised keywords for search engines
- SEO best practice
But if you follow the above steps without doing anything else, you still won’t have an accurate Alexa Ranking.
You need to also:
- subscribe to Alexa.com to certify your website – install Alexa’s meta tag to directly measure your website traffic
and it’s useful to:
- claim your website – run website comparisons, update website owner information and access the dashboard settings
- install the Alexa Toolbar – feeds data back to Alexa to help rank other websites and provide similar website links
Learn how to rank your website with Alexa.
1. Subscribing to Alexa – choose a paid or free account
Paid subscriptions (to certify your website): all paid subscriptions include accurate ranking. Go to Alexa’s Plans and Pricing page to see the monthly subscription options, and follow the prompts:
- $9.99 – for small websites to track Alexa Rank, popularity and traffic
- $49 – for growing websites making smart marketing decisions
- $149 – an advanced tool with many opportunities to grow your website business
NOTE: the steps to register with Alexa and install the meta tag (shown below) apply regardless of whether you claim or certify your website.
But, if you don’t want a paid subscription (and you don’t mind having an estimated ranking), Alexa offers a free subscription to create website comparisons, claim your own website and edit your website’s description and contact information – this is a useful feature to keep updated as it’s viewed by other companies for business and contact purposes.
Free subscription (to claim your website): this account option’s found towards the end of the Plans and Pricing page, within the “Common Questions” section. In the paragraph “Why do I need to enter my credit card information?”, click on the link for “free account“.
Be aware that the free account doesn’t include accurate data for website ranking
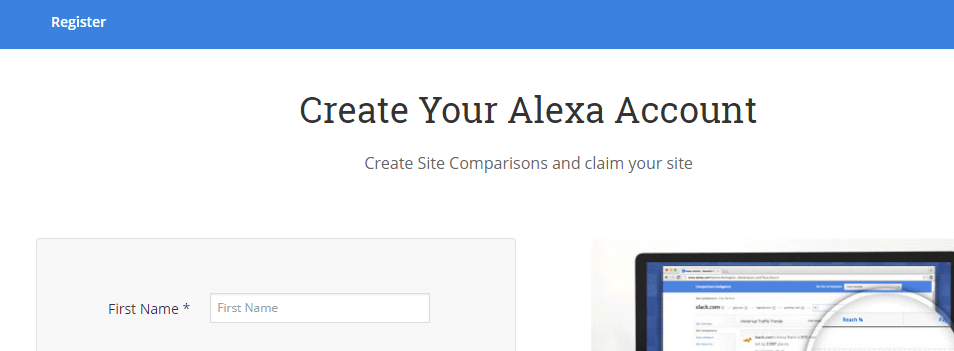
2. Creating your Alexa Account
Register to create your Alexa Account:
 © 2015, Alexa Internet (www.alexa.com)
3. Claiming your website with Alexa
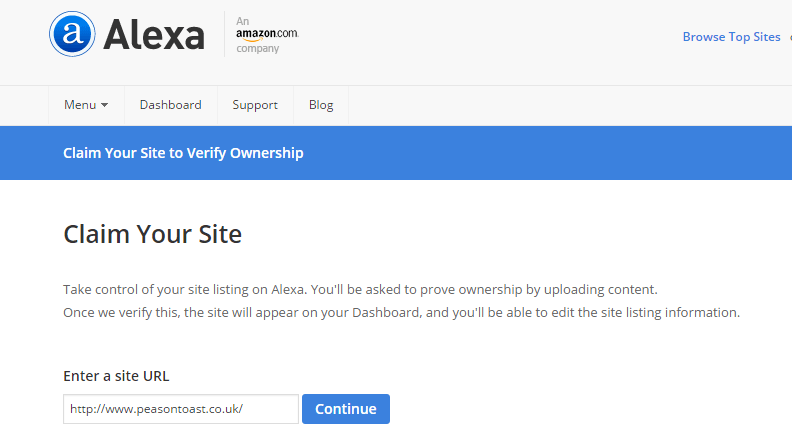
Having created your account, you’ll be asked to “Claim your Site“. First, type your website URL where indicated and click “continue”.
 © 2015, Alexa Internet (www.alexa.com)
4. Adding the Alexa Verification ID to your website (for use when claiming and/or certifying your website)
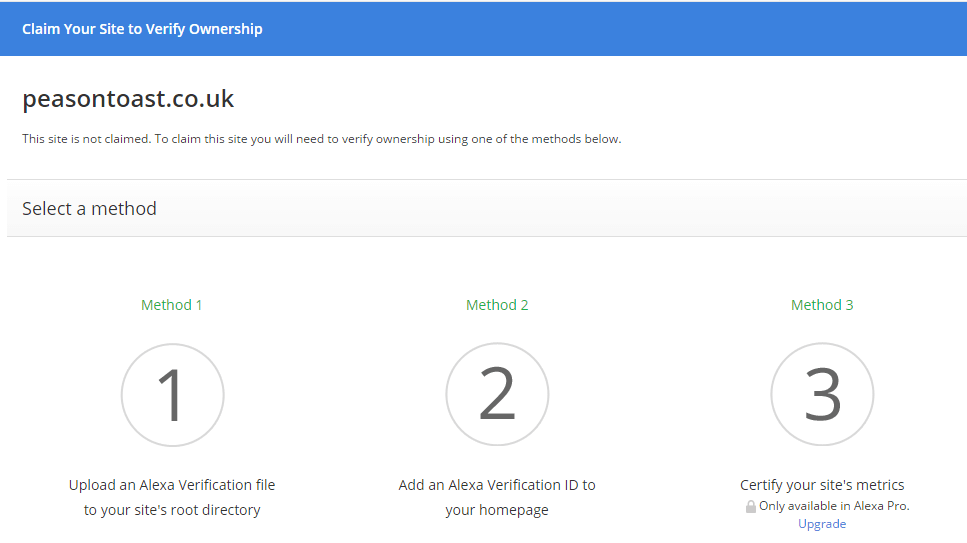
Next, you’ll need to add the Alexa Verification ID to your website, using one of the three methods available.
The easiest method is to add the Alexa Verification ID (aka meta tag) using “Method 2” with an SEO plugin. For the purposes of this tutorial, I’ve used the free Yoast SEO plugin for WordPress:
- having installed the plugin, go to Yoast’s “General”, “Webmaster Tools” tabs, and paste the Alexa Verification ID into the Alexa field
 © 2015, Alexa Internet (www.alexa.com)
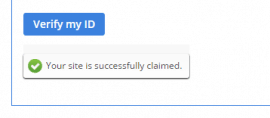
 - Alexa will confirm your website is successfully claimed (or certified, as applicable) and saved


© 2015, Alexa Internet (www.alexa.com) - if you’ve claimed your website: click “View Site Listing” and edit your website details by clicking the drop-down beneath your email address (having logged in) on the Alexa dashboard. Select “Account Management”, “Site Settings” and update your website details as necessary
or
if you’ve certified your website: click “Scan My Site” to check that the Certify Code’s been correctly installed. If successful, the data will be sent to Alexa within three hours
5. Deciding whether to install the Alexa Toolbar
The Alexa Toolbar is one of many optional data panels used by Alexa for estimating other websites’ ranking on Chrome, Firefox and Internet Explorer web browsers.
If not certified, your website’s ranking is estimated via other users’ Alexa data panels.
It’s free to install and gives you access to details such as:
- Alexa traffic rank of each website visited
- related links to similar sites
- “wayback” to see how each website looked in the past
- search analytics to find out which queries drive traffic to a particular website
The Alexa Toolbar data works on a two-way basis. Not only does it give you ready access to Alexa information about other websites, but to a certain extent it must also track your internet browsing for use when estimating other websites’ ranking and providing related links.
For this reason, some people prefer not to install the Alexa Toolbar and only claim and/or certify their website instead.
You can disable the Alexa Toolbar at any time
6. Installing the Alexa Toolbar
If you decide to install the Alexa Toolbar, click on the “Install Alexa Extension” button.
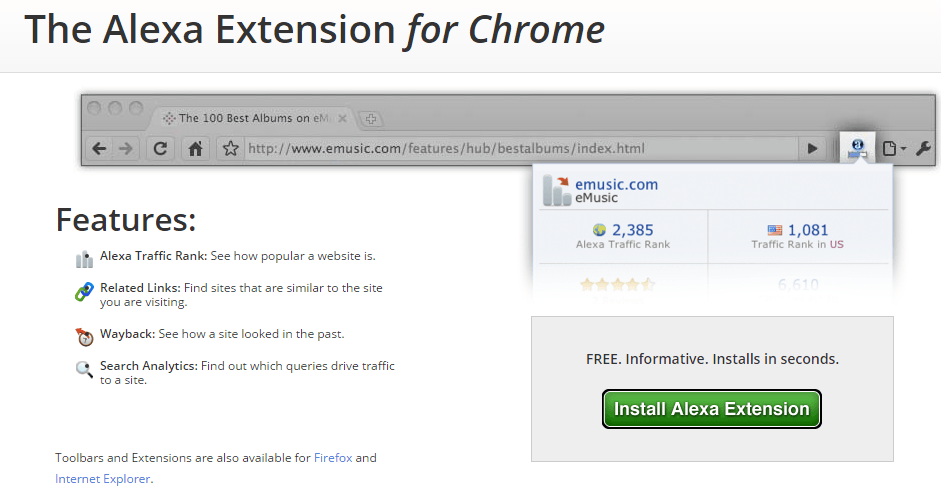 © 2015, Alexa Internet (www.alexa.com)
You’ll then see your web browser’s extension screen. In my case, it’s Chrome – select “Add to Chrome”:
 © 2015, Alexa Internet (www.alexa.com)
![]() The Alexa “a” icon will appear in the top right of your screen.
The Alexa “a” icon will appear in the top right of your screen.
![]()
Having read the terms, conditions and privacy policy, select “Accept and Enable”, and the Alexa icon will update to a smaller “a” and a white bar.
7. Disallowing data or disabling the Alexa Toolbar
Disallowing data: you can prevent the Alexa Toolbar from sending certain details by going to “Toolbar Service” “Options” and deselecting:
- useage stats
- web information – webpage, advertisements and search terms
Disabling the Toolbar: go to your browser’s add-ons/extensions screen and delete the Alexa Toolbar. For example, to remove the Toolbar from Chrome:
- click on the three parallel bars icon in the top right of your screen (customize and control google chrome)
- more tools
- extensions
- select Alexa and remove the tick from “enabled”
How did you get on with setting up your Alexa account? Did you decide to certify your account and install the Toolbar after all?
If you found this post interesting or have a question, leave me a comment below as I’d love to hear from you.

Note: This article is intended to be a general resource only and is not intended to be professional advice.
- Monzo Bank review – 100% smartphone banking exceeds expectations - 16th October 2016
- Atom Bank review – the new player on the banking field - 4th September 2016
- How to use SendinBlue email automation – step-by-step guide - 19th August 2016


