Page Builder plugin – the drag-and-drop plugin to easily format your blog post
Page Builder is an awesome plugin that’s ideal for creating responsive drag-and-drop layouts for your WordPress posts and pages.
I used the Page Builder plugin to create my Home Page with the large image at the top and the icons, links, images, buttons and text wherever else required.
The benefits of using a Page Builder plugin
- it’s free
- very easy to use
- create your own post/page layout even if your theme doesn’t support a particular layout
- place text, images, icons etc where required without formatting restrictions
- easily revert between using Visual Editor or Page Builder in WordPress without losing your content
- widgets aren’t restricted to your widget bar, but can be placed anywhere in your post/page
In this tutorial, you’ll learn how to install
the Page Builder plugin,
understand the toolbar functions,
and start using the Page Builder features
Here’s a short video by SiteOrigin of the Page Builder plugin.
Ok, let’s get started…
1. download SiteOrigin Page Builder and widget
In your WordPress dashboard, go to Plugins, Add New and download the free Page Builder plugin by SiteOrigin.
There are many drag-and-drop page builder plugins available, but we’re using SiteOrigin’s plugin as it’s regularly updated, has over 900,000 active installs and hundreds of 5* ratings – it’s one to be trusted.
I also recommend you download the free SiteOrigin Widgets Bundle for more widget options.
2. create a new Post or Page
In your WordPress dashboard’s left hand menu, hover your mouse over “Post” or “Pages” (depending on which one’s required), and select “Add New”.
From now on, I’ll be using the word “Post” regardless of whether you choose to create a Post or Page.
Go ahead and title your Post.
3. select the Page Builder tab on the edit screen
Now that you’ve installed the Page Builder plugin, there’s a third tab on the edit screen – Page Builder.
Click the “Page Builder” tab to see the Page Builder interface and toolbar.

4. Getting to know what the Page Builder toolbar does
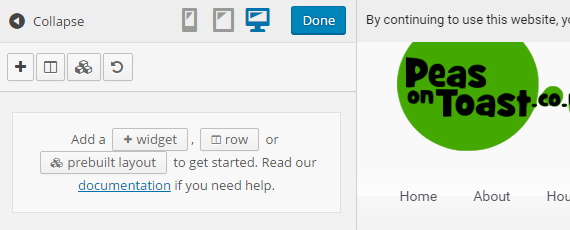
You can use the Page Builder toolbar to add a widget, add a new row of columns or to load pre-built layouts.

Starting from the left of the Page Builder toolbar, these are the options available:
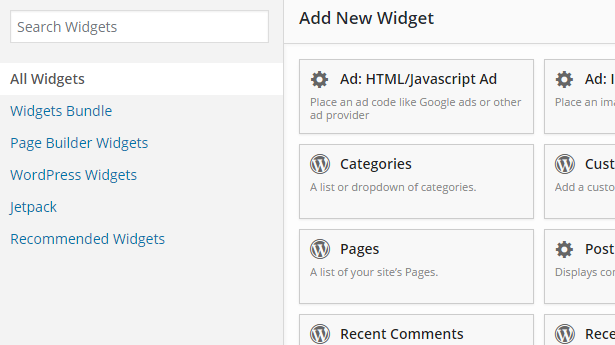
- Add Widget – gives access to all your widgets. Without using Page Builder, you can only place widgets in your theme’s side, header or footer widget areas. With Page Builder, you can place the widgets wherever you like in the Post

- Add Row – unlike when using the Visual Editor, the Page Builder interface requires all typing, images, links and formatting to be created within Page Builder rows. These rows can be one column or divided into several columns, into which you place the relevant widget for text, image etc

- Prebuilt – access your theme’s pre-built layouts in the Layouts Directory, or copy any existing Page Builder Post layouts

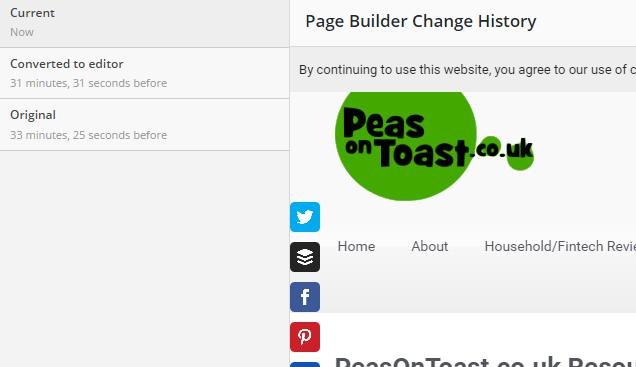
- History – the Page Builder “History” button provides a screen image of your original document and current changes made. You can select the changes to keep or delete whilst still viewing the Post

- Live Editor – a live preview of your Post for real-time editing with Page Builder

On the far right of the screen, there’s a “Revert to Editor” button – this can be used to revert back to the Visual Editor tab.
Page Builder will prompt you to copy the content you created in Page Builder across to the Visual Editor, or vice versa, if needed.
5. understanding Page Builder so you can easily create your Post
Page Builder uses a “drag-and-drop” format to create Posts in WordPress.
If you want to include an image or add text to your Page Builder Post, you first have to “Add Row”, then “Add Widget” to select the relevant widget for an image, link, text, banner etc.
As soon as you understand the concept that Page Builder works in rows, you’ll find it less confusing to use.
For instance, when using the Visual Editor, if you wanted to have text on the left side of a Post with an image to the right, you’d just type your text on the screen and then insert an image to be right aligned.
However, with Page Builder, you’d first have to “Add Row” and divide that row into two columns.
You would then “Add Widget” and place the text widget into the left hand column of the row you’ve just created, and the image widget into the right hand column of that row – see screenshot below in the Page Builder Columns section.
6. moving and editing the Page Builder columns, rows and widgets
The columns, rows and widgets are easily moved by clicking on the relevant dropdown menu or icons.
Page Builder Columns
Using the example above of having text on the left of a Post and an image to the right – to change column size:
- either click on the spanner icon to edit the row’s columns
- or place your cursor between the widgets and click to drag the columns where needed

Page Builder Rows
There are two icons above each row:
- spanner – hover over the spanner and you’ll see options to Edit Row, Duplicate Row and Delete Row
- double ended arrow – click on the icon to drag the row (including its widgets) to another place in your Post

Page Builder Widgets
When you hover your mouse on a widget, you’ll see the words Edit, Duplicate and Delete. Select whichever one is required.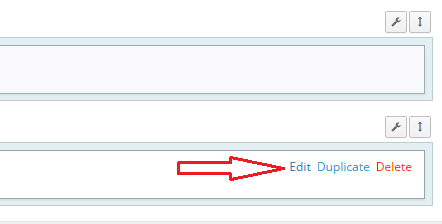
What’s next?
You now know the basics of using the Page Builder plugin.
Create a draft Post and play around with Page Builder, testing out the different widgets and seeing what they look like in the Live Editor or Preview screen.

Note: this blog post is intended to be a general resource only.
- Monzo Bank review – 100% smartphone banking exceeds expectations - 16th October 2016
- Atom Bank review – the new player on the banking field - 4th September 2016
- How to use SendinBlue email automation – step-by-step guide - 19th August 2016

